This is a wonderful activity to set up in early May before it is warm enough to start planting outdoors. The seedlings can then be transferred outdoors once the risk of frost has passed.
I tried this activity with Henry when he was 20 months old and again a year later and there was a huge difference between the two experiences. At 20 months Henry was absorbed in the sensory experience and wanted to dig his hands in the soil and transfer it from container to container. He was not at all interested in following along with me. It was too early for him. A year later, he observed and copied most of the steps and even went back to repeat the activity at another time. It wasn’t perfect but that is fine.
Below is a slightly adjusted version of the traditional Montessori plant germination activity. One difference is that I prefer to have the activity already set up on a bench instead of having the child collect the tray and set up the materials themselves. Having everything already laid out in order of use from left to right makes remembering all of the steps easier.
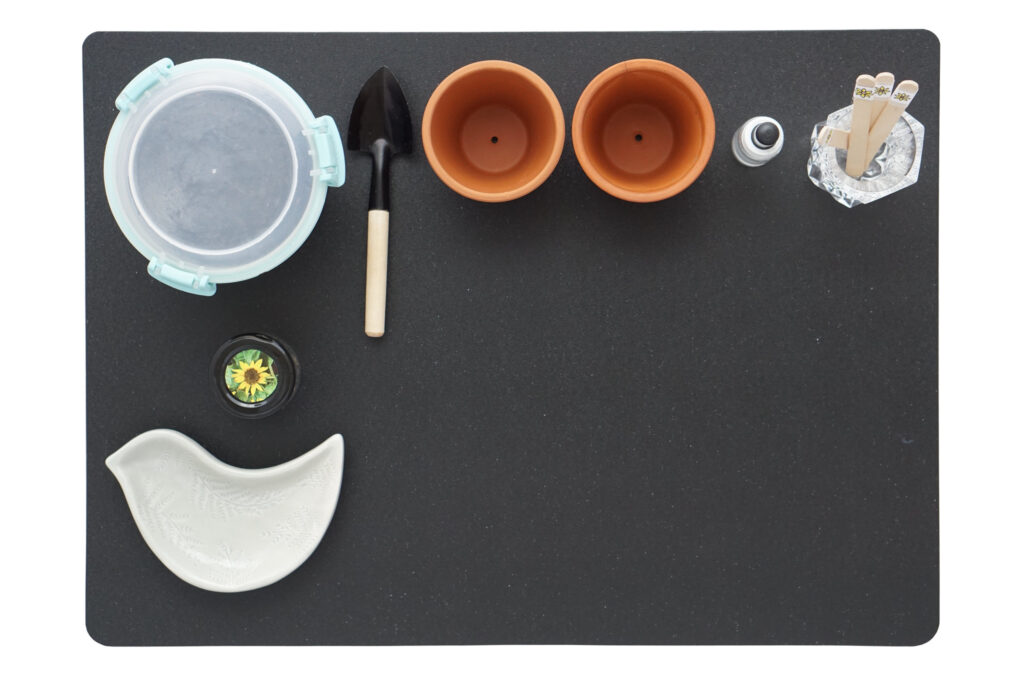
Materials
- Plastic working mat
- Container of soil
- Small shovel
- Small jar of seeds
- Small dish for placing the seeds in
- Small pipette bottle
- Plant markers
- Dustpan and broom, close by
Preparation
I prepare all of the materials on a tray and put it somewhere out of sight. I bring out the tray and set up the activity when the time is right.
Presentation
- Invite the child to the activity “I want to show you something, we are going to plant some seeds”.
- Point to and name each of the items the child does not know already.
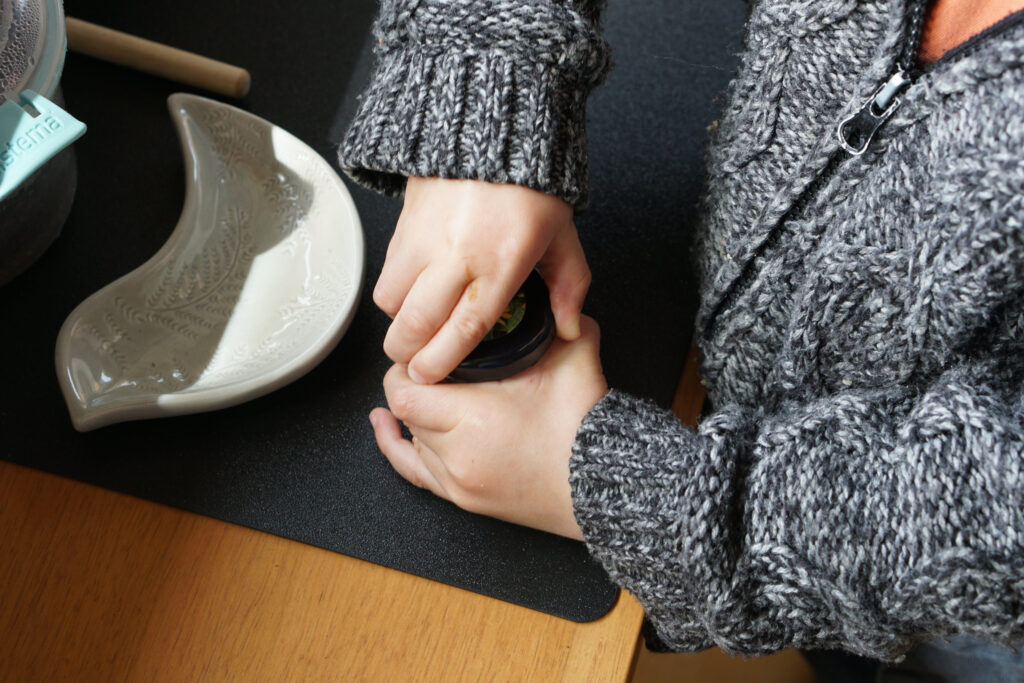
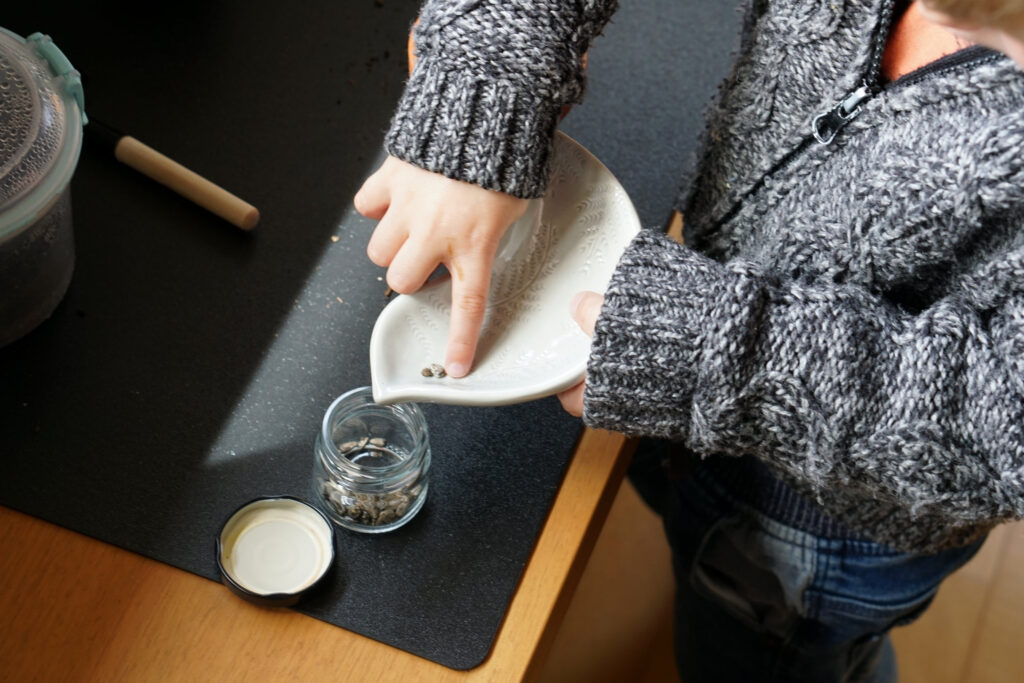
- Demonstrate opening and closing the jar of seeds and invite the child to open it.
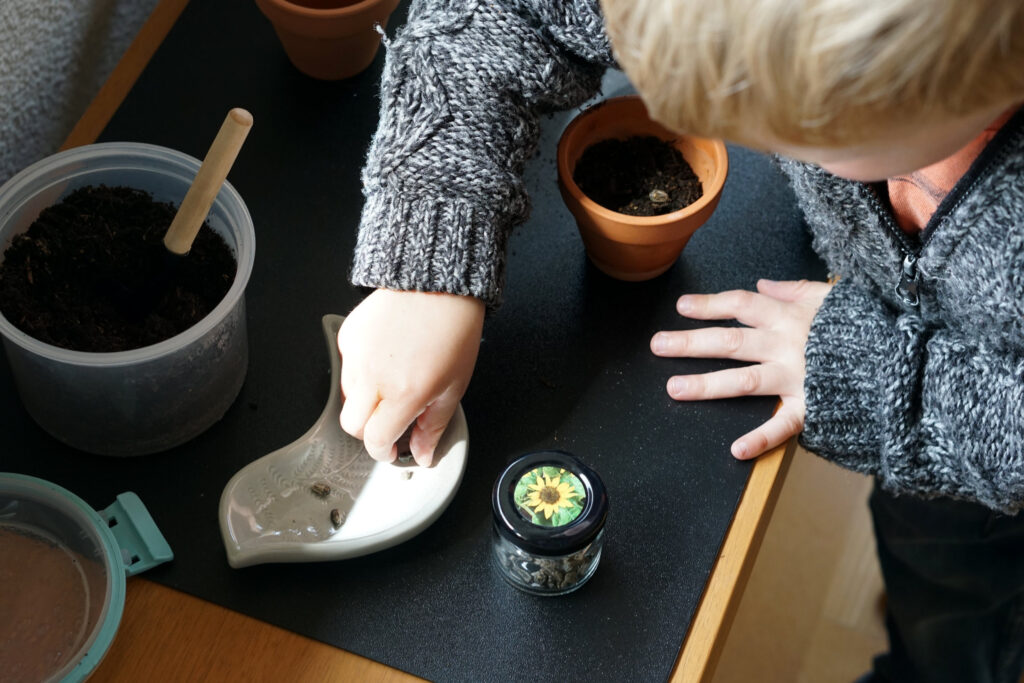
- Take some seeds from the jar and place them on the dish and invite the child to do the same.
- Ask the child to place a pot in the middle of the work surface.
- Demonstrate opening and closing the container of soil and invite the child to open it.
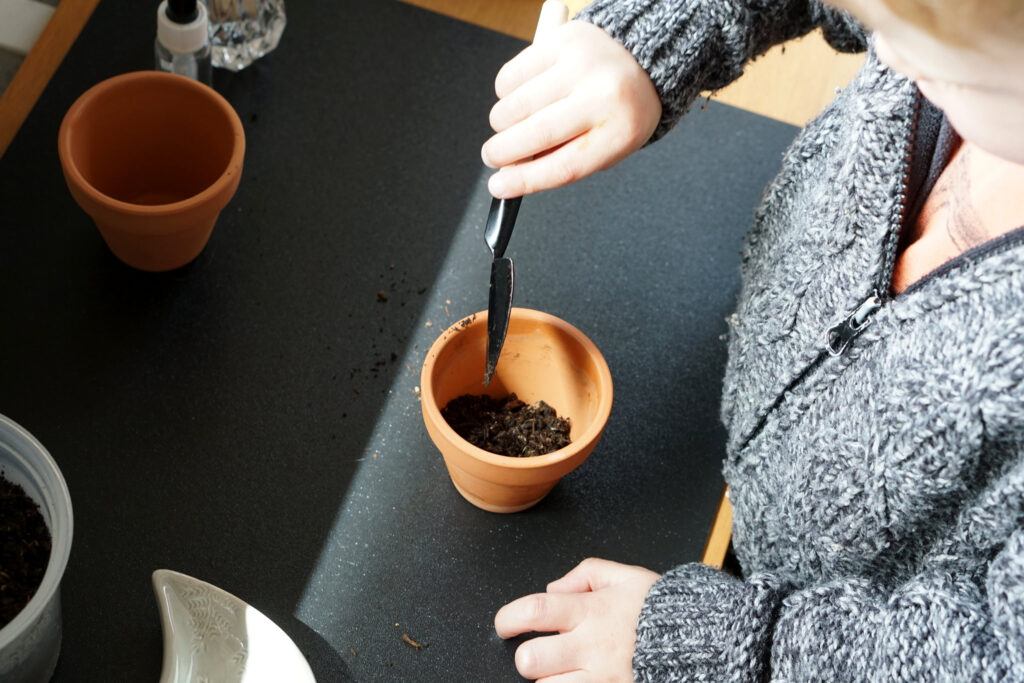
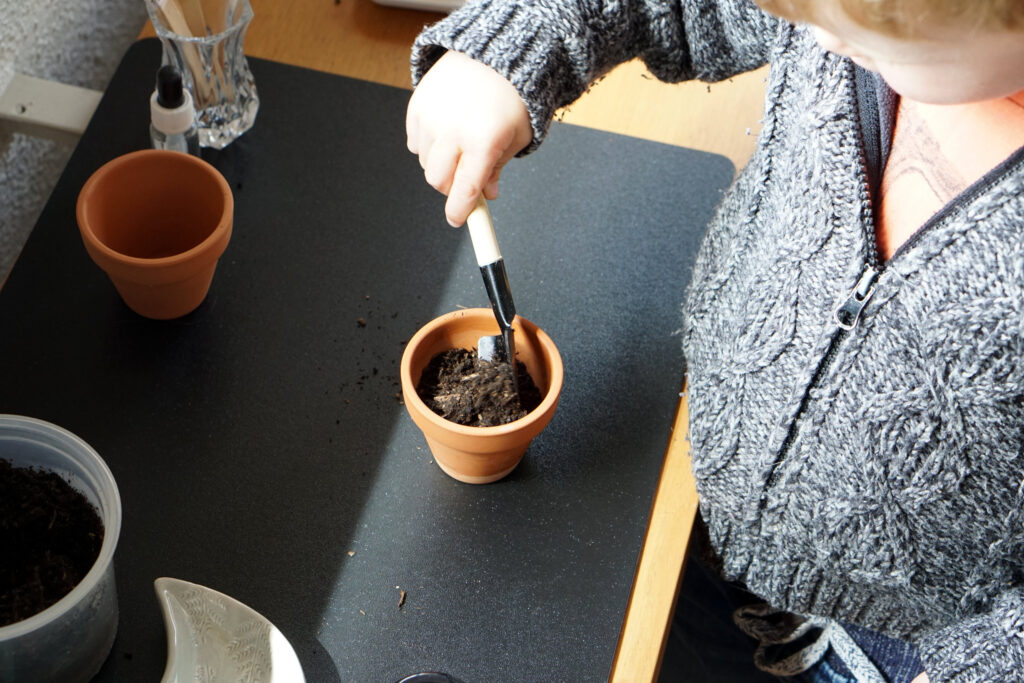
- Use the shovel to place a small amount of soil in the pot and invite the child to have a turn.
- Take a seed from the dish, place it in the pot, and invite the child to do the same.
- Use the shovel to cover the seeds with soil and invite the child to have a turn.
- Ask the child to place the lid on the soil.
- Tip some of the remaining seeds back into the jar and invite the child to tip in the rest.
- Ask the child to close the jar.
- Invite the child to push the plant marker into the pot.
- Ask the child if they would like to do another one.
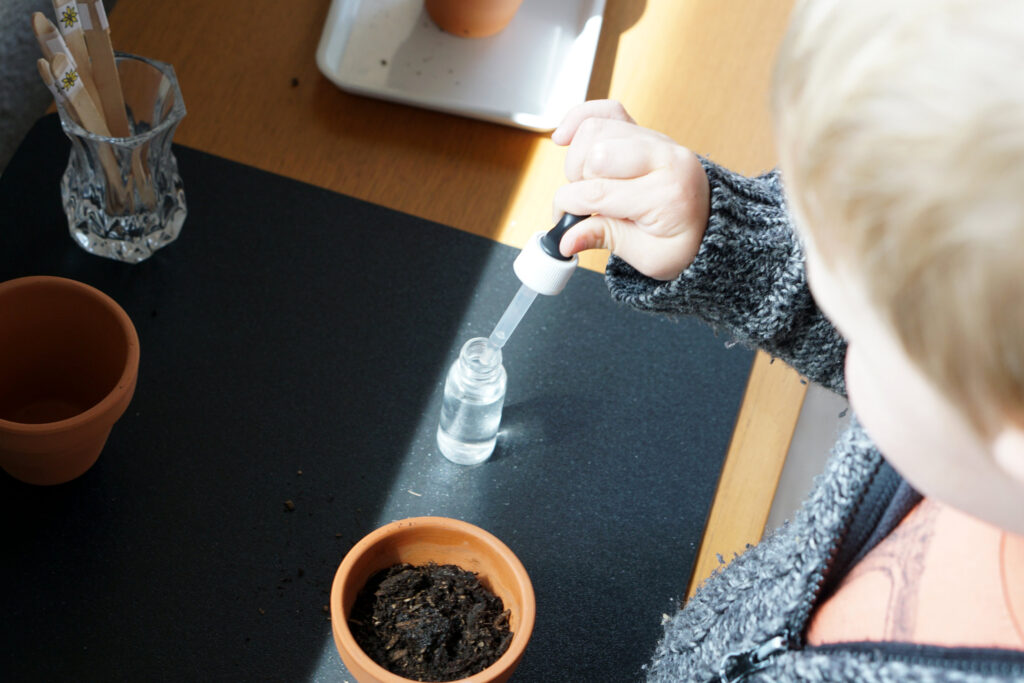
- Demonstrate how to use the pipette to water the seeds “our seeds need some water”.
- Invite the child to carry the pot/s to a sunny spot “now we need to put the pot in the light because light helps it grow”.
- Point out any dirt on the work area “we need to tidy up, let’s get the dustpan and broom” and collect the dustpan and broom together.
- Demonstrate how to use the dustpan and broom, including carrying it with the broom supporting the dustpan from underneath, then invite the child to finish.
Notes on Materials
Plant markers can be printed on thick paper, here I use paddle pop sticks with pictures stuck on with tape. The name of the child and date can be written on the plant marker for the child.
The container for the soil needs to be easy for the toddler to open and close. OXO pop containers are often recommended because they are easy for toddlers to use. Here I use a Systema container but make it easier to use by not closing the clips completely.
A pipette bottle, small jug, small watering can, spray bottle, or squeeze watering bottle all work well for watering.
Planting Calendars
Here is an interactive map showing international plant hardiness zones and last frost dates. This is useful to estimate when seedlings can be transferred outdoors. It is a little hard to navigate but you can find the last frost dates by going first to the hardiness zone map of your area then scrolling down to related maps.
Here is a planting calendar from Zollinger Seeds for Switzerland (in German) that I find useful.